
How to Build a Poker Table: Complete Guide with Plans and Budget
Mike DBuilding a custom poker table is both an exciting and accessible project. Our comprehensive guide takes you step-by-step through the construction of a professional gaming table, perfect for your evenings with friends or regular tournaments. Discover detailed plans, the optimal dimensions according to the number of players, the complete list of necessary materials (foam, cloth, wood), as well as essential tools like a saw and screws to create your own sturdy and elegant poker table.
Poker Table Plans and Dimensions
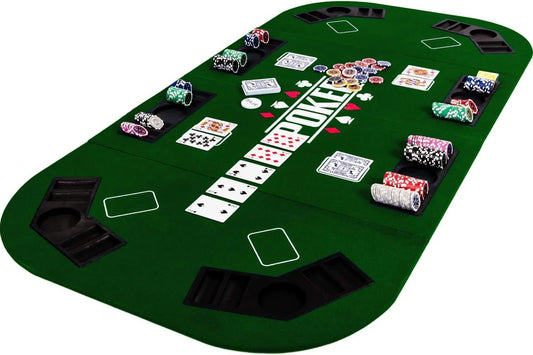
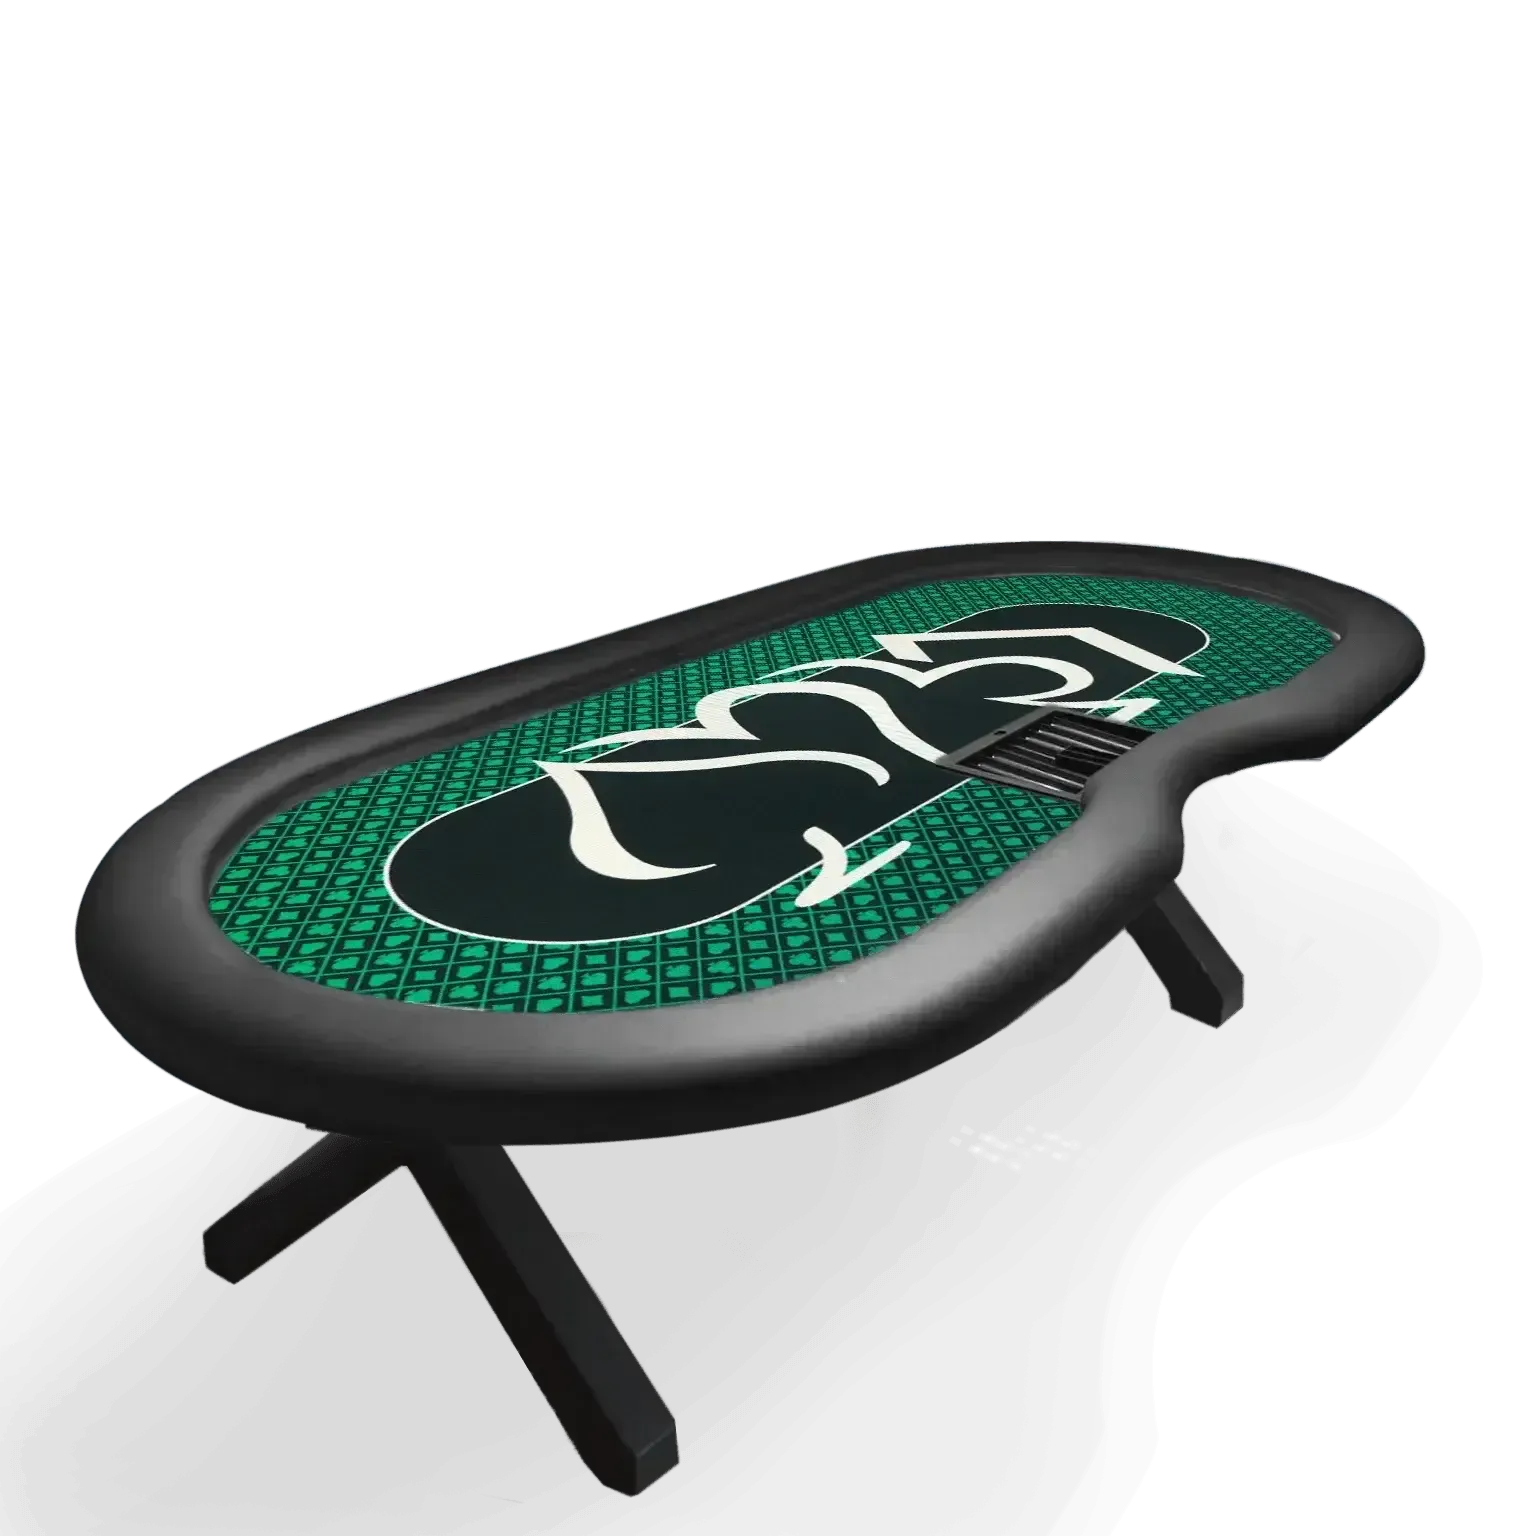
The key to building a successful poker table starts with a precise drawing. Before cutting the materials, take the time to measure and draw your tabletop, including all the elements: the main structure, the appropriately thick foam, the playmat, and the perimeter rail. This careful preparation will avoid unpleasant surprises and ensure a perfectly balanced result. Check out our professional models to inspire you before you start building.
What size should I get for my poker table?
Choosing the size of your table depends on the number of players you want to accommodate. For 8 participants, a 160 x 80 cm folding table is ideal for an apartment, while an oval tabletop measuring 230 x 125 cm offers more space for 8 to 10 people. If you're dreaming of a casino atmosphere, opt for a large 270 x 130 cm table capable of accommodating 10 players and a dealer.
- Player comfort : allow 60 to 70 cm of width per person along the outline, and add 40 to 50 cm if you include space for the dealer.
- Compact solution : an oval board of 180 × 90 cm is perfectly suited to 8 players without sacrificing comfort.
- Original option : a dodecagonal table (12 sides) 140 cm in diameter offers a unique aesthetic for 6 to 8 participants.
Be sure to measure your available space. For a 2.5 m table, your room should be at least 4.0 x 3.0 m to allow for easy movement around the players. This room is essential for prolonged games without feeling crowded.
Choosing the poker table shape
The oval shape is the most popular: aesthetically pleasing and easy to create, it combines a professional look with ease of construction. For beginners, the rounded rectangle can be easily cut with a jigsaw. The octagon is perfect for balancing the space between 8 players, while the dodecagon adds a distinctive touch to your gaming table.
If space is limited, consider a removable top that attaches to your existing table. This ingenious solution transforms any surface into a poker table in just a few moments, without any permanent work.
Height and space around the poker table
The ideal height is between 72 and 76 cm, which is compatible with most chairs. Opt for adjustable legs to adapt your homemade poker table to uneven floors. Regarding the space around the table, allow at least 60 cm of clearance behind each chair for easy movement during your games.
| Number of players | Recommended dimensions | Minimal room space | Standard height |
| 6-8 players | 160 × 80 cm (foldable) | 2.8 m × 2.0 m | 72-76 cm |
| 8-10 players | 230 × 125 cm (oval) | 3.5 m × 2.5 m | 72-76 cm |
| 10 players + dealer | 270 × 130 cm (casino) | 4.0 m × 3.0 m | 72-76 cm |
| 8 players (compact) | 180 × 90 cm (oval) | 3.0 m × 2.2 m | 72-76 cm |
Poker Table Materials and Structure
For build a poker table Strong and durable, the choice of materials and the assembly method are essential. The top serves as a foundation to accommodate the carpet, foam, padded rail and other accessories. Here are the key elements and techniques for achieving a table surface perfectly flat where the chips slide smoothly and the cards are dealt easily.
Which wood and which foams to choose?
THE plateau must be rigid to support the weight and movements of the players. Choose a sign 18 mm thick plywood or MDF, stable and moisture resistant. Avoid conventional chipboard, which is too fragile around the fixing points.
- Structural reinforcements : Install 30 x 30 or 40 mm cleats around the tabletop, with central crosspieces spaced 40 to 50 cm apart to prevent bending.
- Surface foam : Place 5-6 mm closed-cell foam under the mat to make it easier for cards to slide and to reduce noise.
- Rail foam : Choose 20-25mm thick foam for a comfortable and durable armrest.
To save money, consider salvaging materials like hollow doors or plywood scraps. Just check their condition before you start. construction .
Carpet, armrest and race track on the same level
For make a table For professional use, the center mat and the race track must be perfectly aligned. This technique ensures that the tokens slide easily from one area to another. Combine a 5 mm board, 5 mm foam, and 1 mm fabric for a total thickness of 11 mm.
For the mat, choose a special fabric (speed cloth or waterproof velvet) that makes dealing cards easier and resists stains. Customizable neoprene is also an excellent option for clubs. Stretch the mat well and secure it under the plateau with a stapler every 3-5 cm to avoid creases.
The rail, on the other hand, requires thick foam (20-25 mm) glued to a wooden ring, then covered with leather or imitation leather. Using two people, apply even tension and secure with approximately 400-500 staples for a professional result.
Built-in accessories and professional finishes
Accessories greatly enhance the gaming experience. Install recessed cup holders (90-100 mm holes) with reinforcement to prevent fabric sagging.
LED lighting under the rail adds a customizable ambiance. Create a groove to hide wiring. Other useful accessories include a token rack, a secure dropbox, and USB ports for charging devices.
Budget, Steps and Poker Table Options
Preparing an accurate budget and meticulously organizing the manufacturing steps are the keys to successfully completing your project without any unpleasant financial or technical surprises. In this guide, we detail realistic costs and the best way to organize your time. construction , and help you choose between building your own DIY poker table or buying some pre-made components to save time and keep costs down.
How much does a home poker table cost?
The price for build your own table The price varies considerably depending on the materials chosen, the final size, and the desired level of finish. For a budget-friendly 6- to 8-player version using standard materials and a few reclaimed parts (like legs or a backboard), expect to pay between €150 and €250. On the other hand, a 10-seater table with professional finishes, integrated LEDs, and high-end accessories can easily reach €500 to €700 - while remaining much cheaper than an equivalent model in a store.
Here is the typical distribution of the budget table poker :
- Wooden top and structure (€50-100)
- Foam and carpet or rug (€40-80)
- Custom-made speed cloth or neoprene fabric (€30-100)
- Faux leather or leather for the rail (€40-120)
- Accessories such as cup holder and LED (€30-150)
- Special screws and glues (€20-40)
Tools are an initial investment, but it pays off if you already own the essentials or can borrow some tools.
- Savings on materials : Reclaim doors, plywood or solid wood, and purchase fabric or foam scraps from specialist suppliers to reduce your costs by 30 to 40%.
- Optimization of accessories : Limit LEDs and other customizations on your first project to better control the budget. You can always add them later.
- Topper alternative : A removable 160×80 cm top with glued mat and Velcro attachment (€80-150) instantly transforms your existing table without major work.
- Tool rental : Rent a router, a professional hole saw and a pneumatic stapler for the weekend (€30-50) instead of buying equipment that you won't use often.
Always compare the total cost of your DIY project with ready-made tables. This professional poker table (2.50 m) will give you an idea of the finishes to aim for and help you justify the investment in time and materials.
Key steps and manufacturing safety
Building a poker table follows a precise logic to avoid mistakes and optimize your time. Start by tracing the desired shape onto your plywood panel using a cardboard template. Then cut out the main tabletop with a circular or jigsaw (blade suitable for wood), then carefully sand all edges.
Mark the inner ring of the rail 10 cm from the edge, drill a starting hole, then cut this ring with the jigsaw, moving slowly to ensure a clean cut. Secure the reinforcements under the tabletop with PVA glue and 40 mm screws, checking that they are square. Position the T-nuts for the future rail before starting the fabric covering.
| Stage | Main action | Necessary tools | Estimated time |
| 1. Tracing | Draw the shape and the markers | Meter, set square, compass | 30-45 min |
| 2. Cutting the tray | Cut out the rail shape and ring | Jigsaw, drill | 1-2 hours |
| 3. Reinforcements | Fix the cleats and crosspieces | Screws, glue, level | 45-60 min |
| 4. Central cladding | Glue the foam and stretch the carpet | Spray glue, stapler | 1-1.5 hours |
| 5. Padded rail | Foam + stapled imitation leather | Neoprene glue, stapler | 2-3 hours |
| 6. Accessories | Drill and install the cup holders/LEDs | Hole saw, router | 1-2 hours |
| 7. Feet | Mount and adjust the height | Screws, wrench, level | 30-45 min |
Security : Wear safety glasses, a mask and gloves for all cutting and sanding operations. Work in a ventilated area with neoprene glues. Measure carefully before cutting, and always pre-drill holes before screwing to avoid cracking.
Compare DIY and ready-made models
Choosing between building or buying depends on your budget, DIY skills, available time, and aesthetic expectations. A DIY tutorial requires 12 to 20 hours of work over several weekends, while a commercial table can be assembled in an hour and delivered within 48 hours.
The main advantage of DIY is customization: dimensions adapted to your space, choice of colors, and integration of specific accessories. You also acquire carpentry skills and the satisfaction of having built your own equipment. Professional tables, on the other hand, offer guaranteed quality, perfect finishes, and technical support.
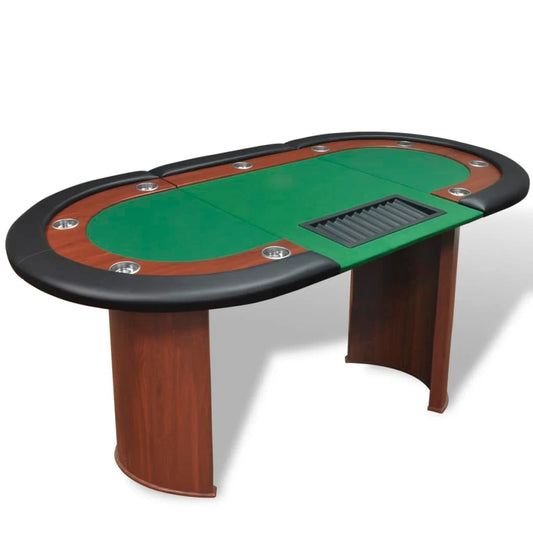
To help you choose, this folding felt table This shows the level of finish of commercial models. If your DIY project costs more than €400-500 without a guarantee of professional results, buying a table made in France with a guarantee can be more advantageous.
Frequently Asked Questions
How much does it cost to build a homemade poker table?
THE cost of a DIY poker table generally varies between 150 € and 700 € depending on its size, the materials used and the finishes chosen. For an economical version that can accommodate 6 to 8 players with standard materials and reclaimed elements, count 150-250 € . If you opt for a high-end model for 10 people with LED lighting, carpet custom neoprene, coated in leather or imitation leather and integrated accessories, the budget can go up to 500-700 € . The main expenditure items include the plateau in wood (50-100 €), the mousse and the fabric (70-180 €), accessories such as cup holders (30-150 €) as well as the screw and glues (€20-40). To reduce costs, consider reusing panels existing ones, buy scrap materials and limit unnecessary options.
What are the ideal dimensions for a poker table?
The optimal dimensions depend on the number of players: count approximately 160 × 80 cm (folding version) for 6 to 8 people, 230 × 125 cm (format oval ) for 8 to 10 players and up to 270 × 130 cm (casino model) for 10 players plus dealer. Plan 60-70 cm of space per player and a standard height of 72-76 cm to fit traditional chairs. The perimeter rail should measure approximately 10 cm wide for optimal comfort. For a 2.5 m table, make sure you have a room of at least 4.0 × 3.0 m to ensure smooth circulation (60-80 cm behind each seat). Popular shapes include the oval , the rectangle with rounded corners (easy to cut out ) and the octagon (ideal for 8 players).
What materials should you choose to make your poker table?
For the construction , favor a plateau in plywood or MDF (18 mm) reinforced with cleats (30 × 30 mm) and crosspieces for excellent rigidity. Comfort comes from: a mousse closed cell (5-6 mm) under the carpet , thicker foam (20-25 mm) for the rail, and a covering in leather or faux leather. Use wood glue for assembly, neoprene glue to secure the foam and fabric, and 400-500 strong staples to tighten the upholstery. Add screw wood, T-nuts (easy disassembly) and, if desired, cup holders (stainless steel/plastic) or LEDs. Avoid: standard chipboard, which is too fragile to support the fixings.